


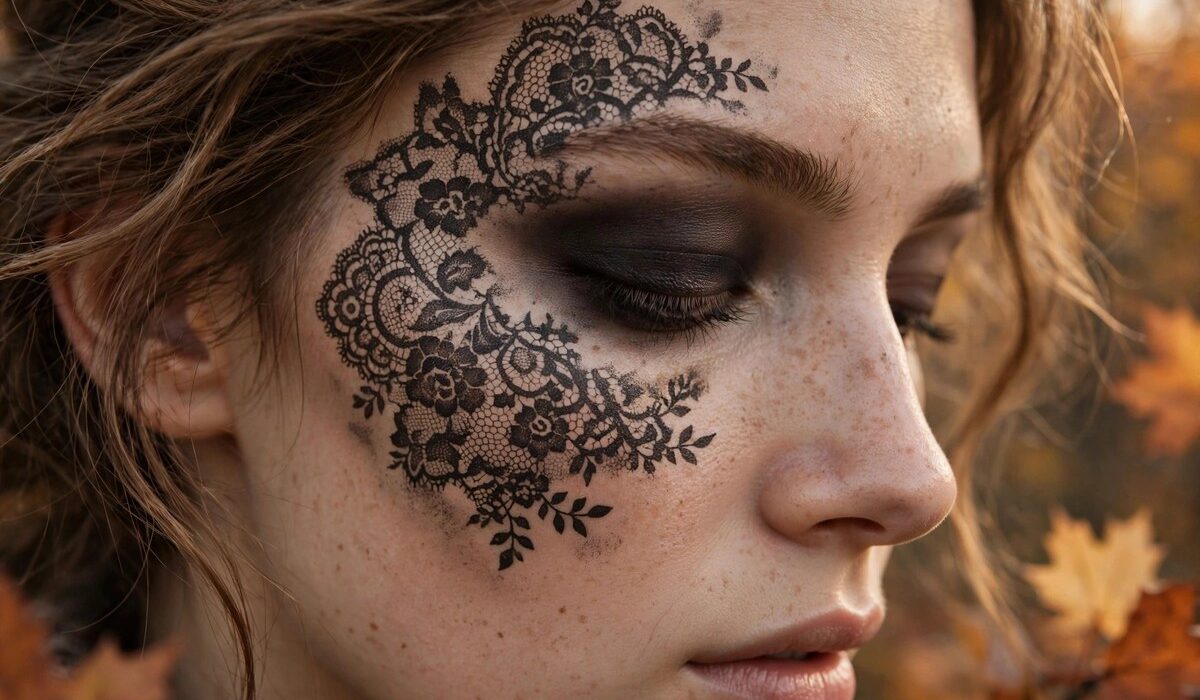
This lace makeup trend tutorial takes autumn’s most artistic beauty look and breaks it down into something you can genuinely do at home. Lace makeup stamps an intricate, vintage-inspired pattern onto the skin using real lace as a stencil, and as of October 2026 it is turning up on festival feeds, autumn editorial shoots and Halloween mood boards alike. The best part is that it looks far more skilled than it is: once you know the pressing motion, the lace does most of the work for you.
The trend has two main routes. The first uses a piece of lace fabric as a stencil with eyeshadow pressed through it. The second is hand-drawn with liner, creating a masquerade-style mask. Both are covered below with numbered steps, plus the tools you need and two ways to wear the finished look. As our autumn winter 2026 trends guide notes, this season’s beauty mood leans artistic and textured, which is exactly why lace makeup fits right in.
What You Will Need
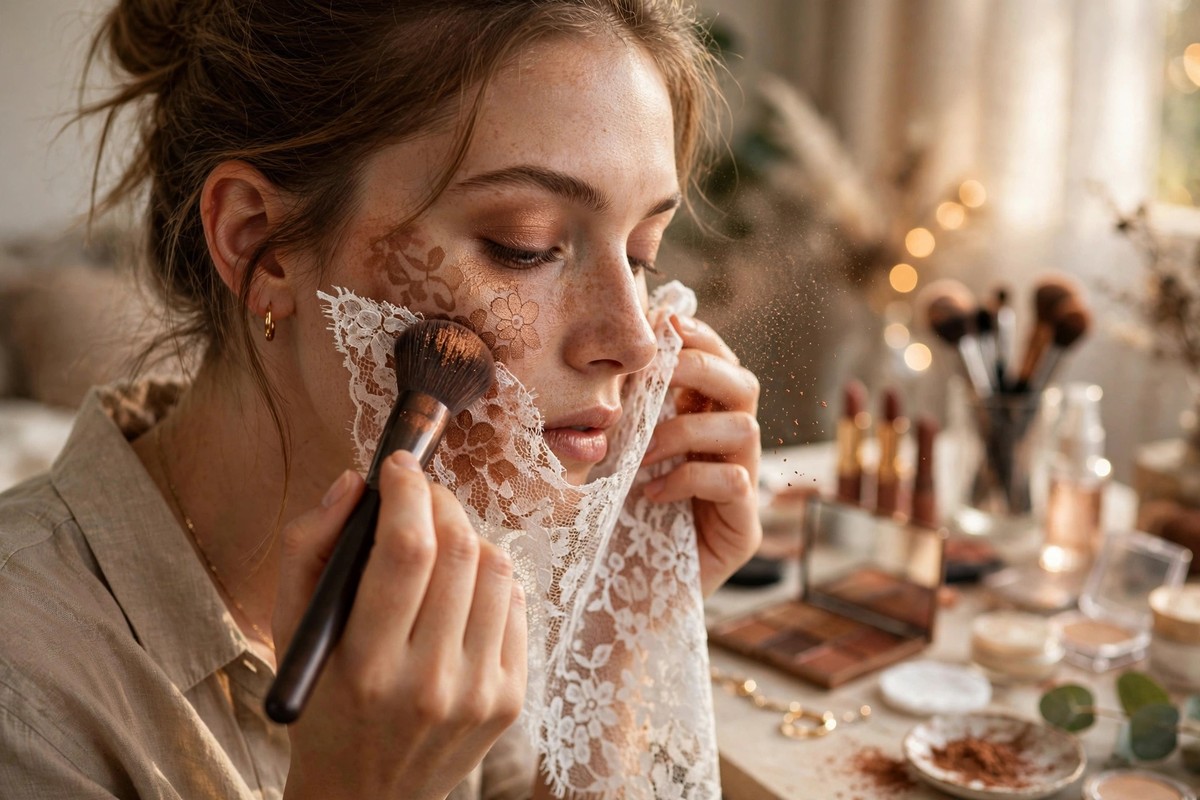
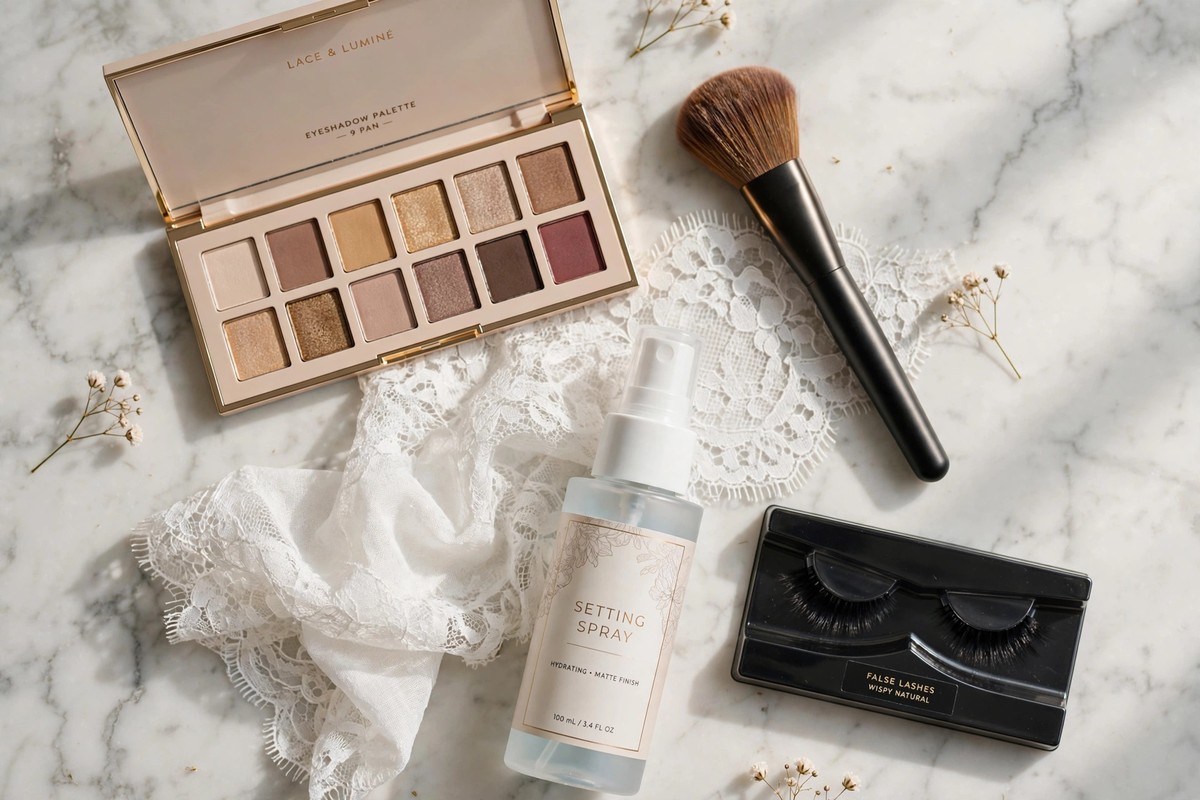
Most of this is probably in your makeup bag already. You need your usual base (primer, foundation, concealer, setting powder), an eyeshadow in one deeper shade and one lighter shade, a dense flat brush or a makeup sponge, a black or brown waterproof liquid liner, false lashes if you like them, and setting spray. For the stencil method you also need a piece of lace fabric with an open weave, roughly the size of your palm; an old lace top, a doily or a fabric offcut all work. Use cosmetic-grade products only and avoid craft paint on skin. If your skin is sensitive, do a patch test on your jawline the night before, especially where lace and setting spray will sit.
Lace Makeup Trend Tutorial: Method 1 (The Stencil Press)
This is the easier method and the one to try first. The lace acts as a negative stencil: pigment pressed through the holes prints the pattern onto your skin.
Step 1: Build a matte, long-wear base. Prime, apply foundation and concealer, then press setting powder over the areas where the lace will go. Lace makeup sits best on a matte, oil-free surface, because shine and slip blur the pattern.
Step 2: Choose your placement. Decide where the pattern will live: across one cheek and temple, over the forehead, or sweeping down from the eye like a partial mask. Hold the lace against your face to preview the effect before any pigment goes on.
Step 3: Press, do not swipe. Stretch the lace firmly and flat over the area (ask someone to hold it, or pin it gently at the edges if you are on your own). Load your dense brush or sponge with the deeper eyeshadow and press it straight down through the lace with dabbing motions. Swiping drags the fabric and smears the print, which is the most common beginner mistake.
Step 4: Lift and check. Peel the lace away slowly in one smooth motion to reveal the pattern. If it is patchy in places, lay the lace back in position and press a little more pigment over the thin spots.
Step 5: Add depth. Lightly dust the lighter eyeshadow over the top of the pattern with a soft fluffy brush. This creates dimension and softens any harsh printed edges. Warm brown shadows make the lace pattern glow against autumn palettes, as our chocolate brown outfit ideas show.
Step 6: Build the rest of the face around it. Keep the rest of your makeup supportive rather than competing: defined brows, one strong feature (a smoky eye or a bold lip) and the other kept quiet. A full lace mask tutorial from Daily Mom covers the glam version of this step well if you want a second reference.
Method 2: The Hand-Drawn Masquerade Mask
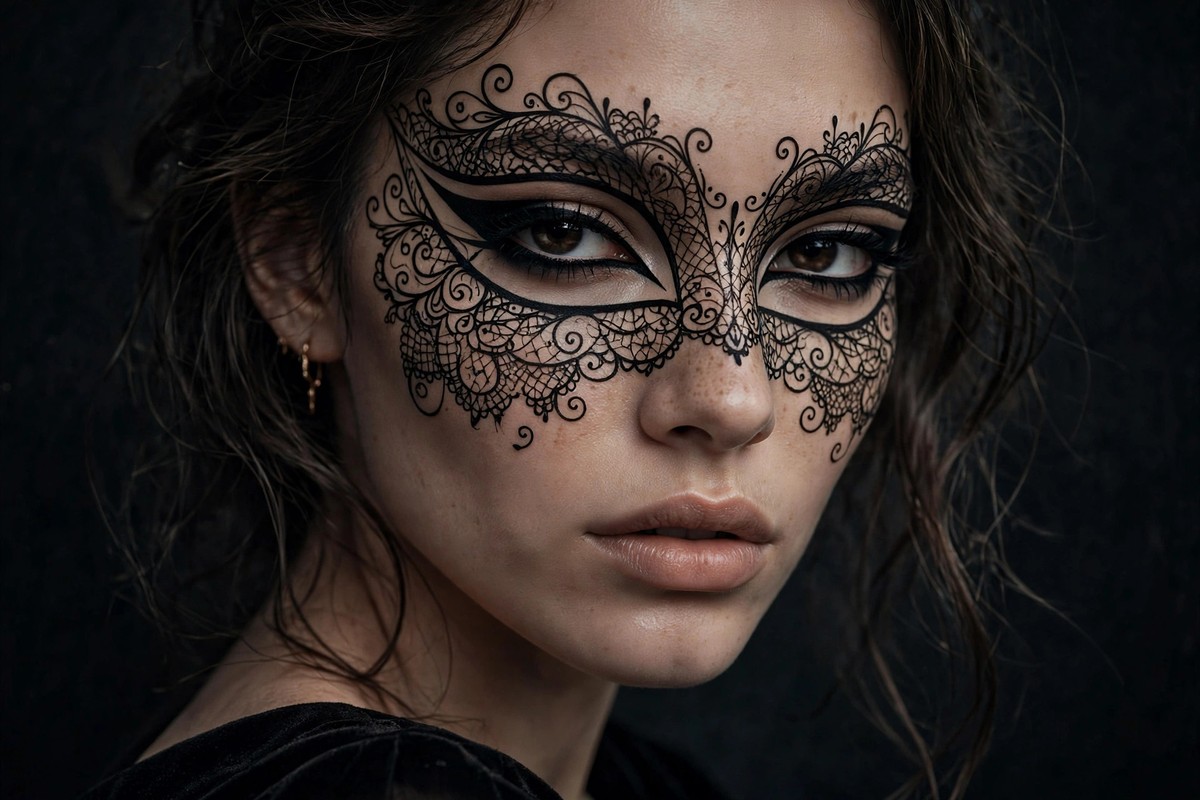
No lace fabric? Draw the pattern freehand with liner. This takes a steadier hand but gives you complete control over symmetry and placement, and it reads beautifully in photos.
Step 1: Map the mask lightly. Use a light brown or nude liner pencil to sketch the outline of your mask: eye holes first, then the outer edge sweeping across the temples and down the bridge of the nose. Sketching first means mistakes wipe away easily.
Step 2: Trace in black. Go over the pencil sketch with waterproof black liquid liner. Then draw the lace netting: fill the mask area with a loose grid of crossing lines, horizontal first, then vertical or diagonal ones. Vary the spacing slightly; perfect uniformity looks printed, and slight irregularity reads as real lace.
Step 3: Add the lace details. Draw small scallops, dots and swirls along the mask’s edges. A few flicked wings at the outer corners and a sharpened point on the forehead give the classic masquerade finish.
Step 4: Blend into the eye makeup. Skip liner on the lids themselves, since it smears; instead do a deep smoky eye with heavy mascara or false lashes so the drawn netting flows into the eye look. Finish with a classic red or deep berry lip.
Step 5: Set everything. Mist setting spray generously over the finished look. Liquid liner sets hard, but a setting spray keeps the surrounding makeup from breaking down over the evening.
Two Ways to Wear It: Soft Daytime vs Dramatic Evening
Soft daytime: use a champagne or taupe eyeshadow through white or cream lace on just one cheek, keep the base natural, add mascara and a nude lip. The pattern reads as delicate texture rather than costume. This version pairs easily with everyday autumn dressing; our quiet luxury breakdown shows why restraint is the season’s smartest styling move.
Dramatic evening: use black or deep burgundy shadow through black lace across the cheek and temple or as a half mask, add false lashes, a bold red lip and strong contour. Style it with an all-black outfit and the makeup stays the centrepiece. Our pencil skirt work outfits show how one polished base can carry a statement look well after hours.
Beginner Tips That Save the Look
1. Always dab, never swipe. Pressing pigment straight down through the lace keeps the pattern crisp; any sideways motion drags it.
2. Go matte first. Lace patterns blur on dewy or oily skin, so powder the stencil area well before you start.
3. Start with one feature area. A cheek-and-temple stamp is far more forgiving than a full-face mask on your first attempt. Practise the motion once on the back of your hand.
4. Fix mistakes immediately. Keep cotton buds and micellar water nearby. A blurry edge can be sharpened with a small angled brush and a touch of concealer before you set.
5. Photograph it in soft light. Lace makeup was made for photos; indirect daylight or a ring light at an angle shows the texture best.
Frequently Asked Questions
Is this lace makeup trend tutorial suitable for beginners?
Yes. The stencil method needs no drawing skill at all; the lace does the detailed work and the only technique to learn is pressing pigment straight down instead of swiping. Try it once on your hand to get the motion right, then move to your cheek.
What kind of lace should I use on my face?
Any clean, open-weave lace fabric with clear holes works: a lace offcut, an old lace top or a doily. Wash it first and avoid lace with glued embellishments or stiff backing, which will not sit flat. If you have sensitive skin, choose a soft cotton lace and keep the wear time short.
Can I do lace makeup without real lace?
Yes, use Method 2 above and draw the pattern with waterproof liquid liner. You can also improvise a stencil from fishnet tights stretched over the cheek, which gives a similar netted effect. The hand-drawn route takes more patience but needs nothing you do not already own.
How do I make the pattern last all evening?
Build it on a matte, well-powdered base, use long-wear or waterproof products, and finish with setting spray. Blotting papers handle shine without disturbing the pattern, and avoiding touching your face is the single biggest longevity factor.
How do I remove lace makeup safely?
Start with an oil-based cleanser or micellar water to dissolve the pigment and setting spray, then follow with your normal face wash. Be gentle around the eyes if you used waterproof liner, and hold a damp cotton pad over stubborn areas for a few seconds rather than scrubbing.
Conclusion: Try This Lace Makeup Trend Tutorial This Weekend
This lace makeup trend tutorial proves that the season’s most artistic look is also one of the most doable: press pigment through lace for instant detail, or draw the mask freehand for full creative control. Pick your method, keep one feature strong and the rest quiet, and you will have a look that photographs beautifully and took less effort than it appears. Try the soft version for daytime first; the dramatic mask will be waiting for Halloween.